tools required: 3ds max
some extra ingredients required: Maxwell Render, Peter Watje’s Scatter v1.64
“Of all the wonders of nature, a tree in summer is perhaps the most remarkable; with the possible exception of a moose singing “Embraceable You” in spats.”
– Woody Allen
This techniques has been used in the cinematic industry since the beginning of times, digital times that is. In those glorious days digital art was still young and innocent and our humble computers could not tuck in all those zillions of polygons we tend to throw at them so lightheartedly today. It is a pretty simple technique indeed and at the end of this tutorial you will feel like rulers of the universe or at least, like master gardeners.
And, last but not the least, you might be able to save a few hundred tree bugs…mmm….bucks on a expensive 3D forest generators. The money thus saved can be successfully invested in a girlfriend, for instance. But, chitchats no more!
Let’s rock’n’lol!
Alora, first, to start with, we would need to generate some nice-looking terrain that we are going to populate with, shall we say, 5,000 trees?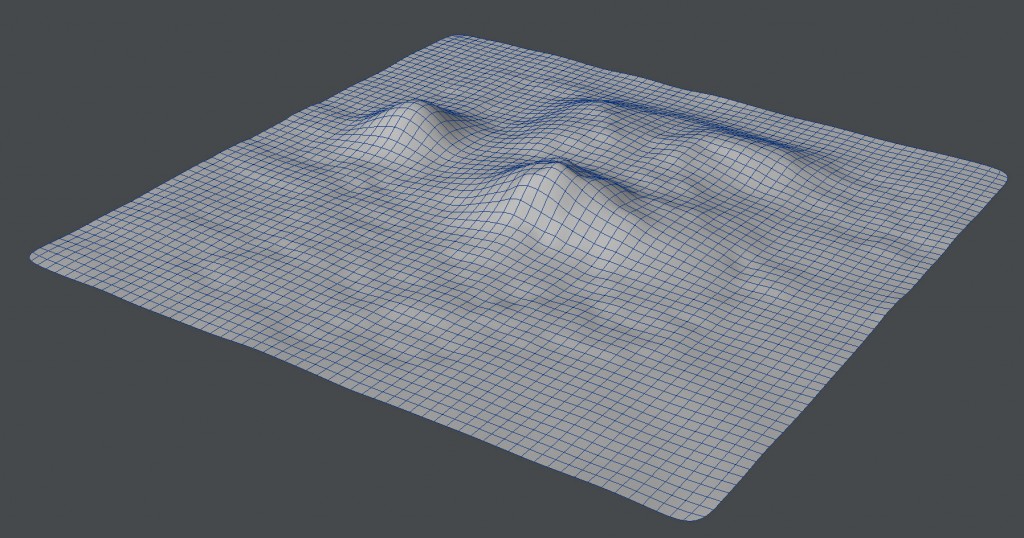 We used lightwave3D for that purpose because…well, because we can and we can do things with it very quickly, but any other software should do the job equally good. Presumably, even SketchUp can do the job!
Let make the terrain slightly undulated, with a few hills sticking up to make it nicely dynamic, like those picturesque rolling hills we see in Tuscany.
An untextured 3D model is like sex without the erotic, so let’s hide that plain nudity once and for all, shall we? Artist’s wardrobe of choice for covering naked 3D terrain bodies is called “Google Earth” and we did spend some time trying on different “clothes” before we had enough and here’s the final “dress” we’ve chosen for our fair lady.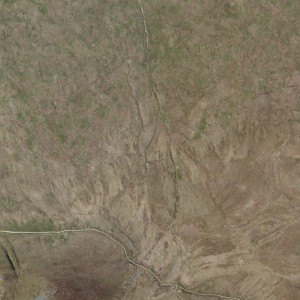 What follows next might come as a shock to most of you render geeks out there but, for this tutorial our render engine of choice is not going to be VRay. It is going to be the muscle car of all render engines- Mr. Maxwell Render!
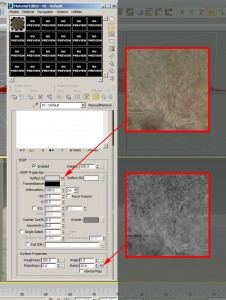 Let’s open up the MatEditor and choose an empty material slot-> bang! load a MaxwellMaterial shader and then let’s load our Google Earth texture map in the empty slot next to “Reflect 0”. We’ve also prepared in Photoshop a black-and-white map of the terrain map which we are going to use a s bump map. So, let is put it into the empty slot next to “Bump”.
We’ve set up a very quick 3ds max default target camera for a view similar to the one you see here below.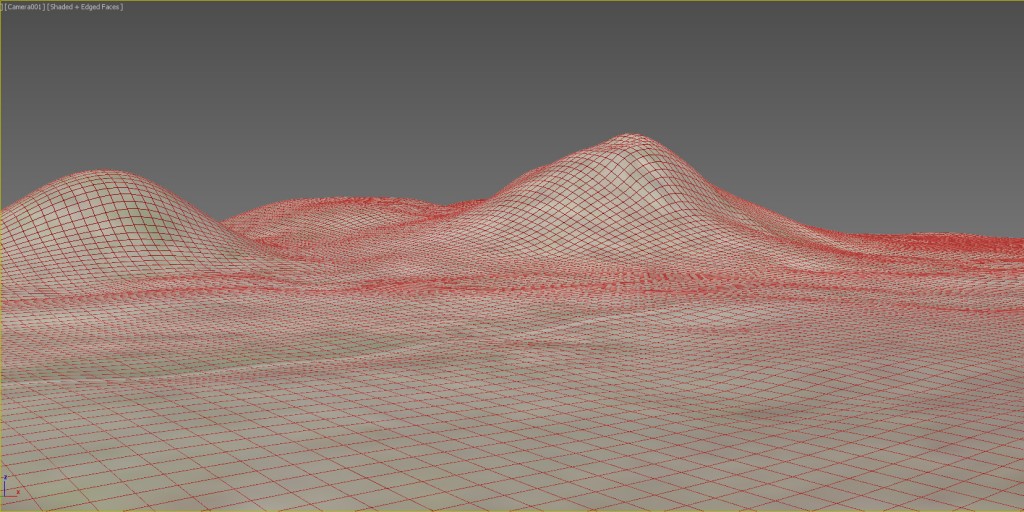 Eager to get some results ASAP and without much time wasted, we’ve asked Mr.Maxwell to come up with a quick rendered image and here’s the result. It’s a simple “hit and run” render, using only the default Maxwell Render settings, so there are no settings to share with you really.
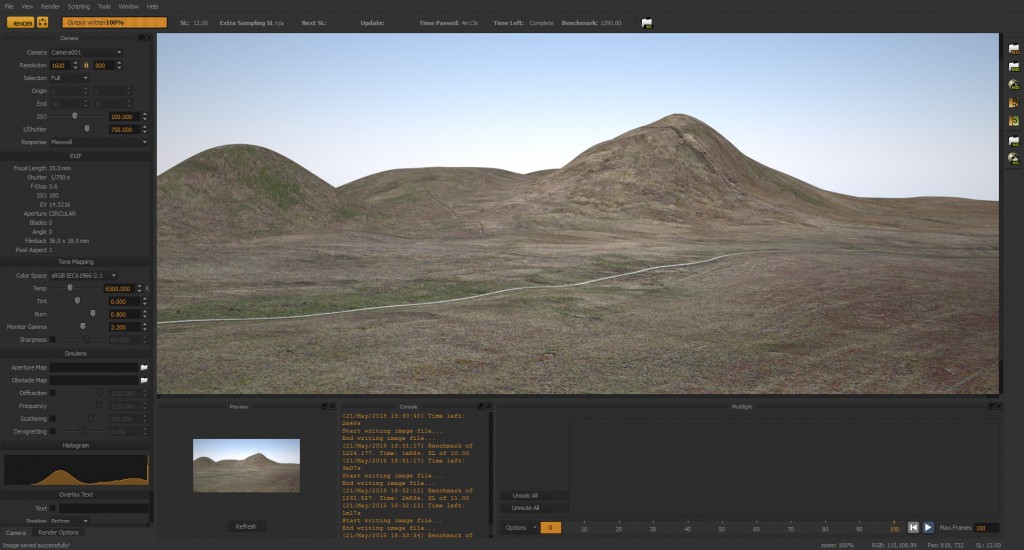 If you think that this render is not all too exciting then, most probably you are right.
It is a bit dull, Vray-ish type of render.
Clearly it will benefit some better lighting and above all – yes, vegetation!
We will start with the vegetation.
And how is one the best places for 2D cut-out vegetation (together with all the other kinds of cut-out and reference materials) is called..?
If you are reading the current tutorial then most probably you are by now aware of the correct answer.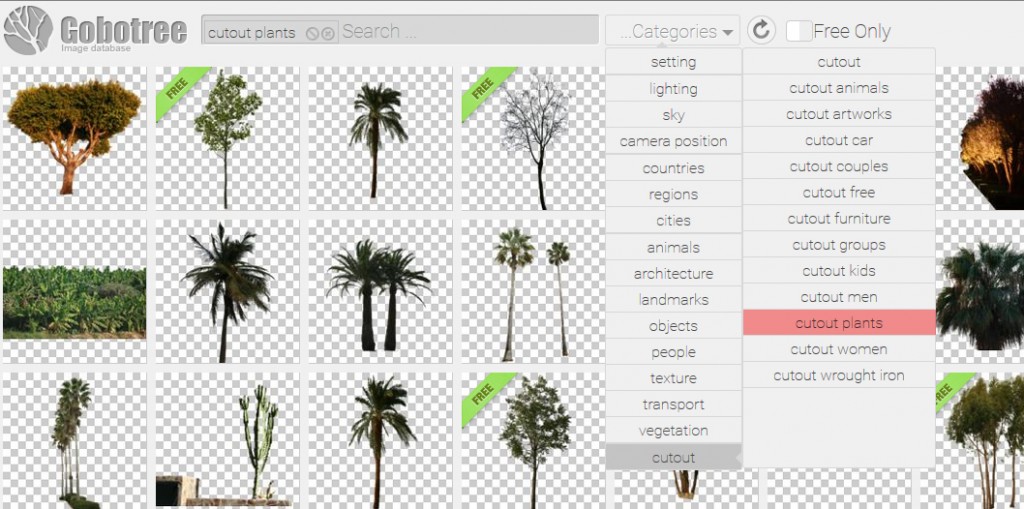 Our online library is in constant flux and we are doing our best to optimize it and put all our content online as soon as possible but with so many things planned in the pipeline, it is not going to happen overnight. For the hottest and the newest stuff make sure you visit our website regularly- every night before you go to bed.
So, let’s dig out some cool trees by typing in “cutout trees” into the search slot or simply by scrolling all the way down in the “Categories” menu-> “cutout” and then choose some suitable trees. For our little test here, maybe 10 different cut-out trees should be more than enough to help us create the illusion of randomness and individuality.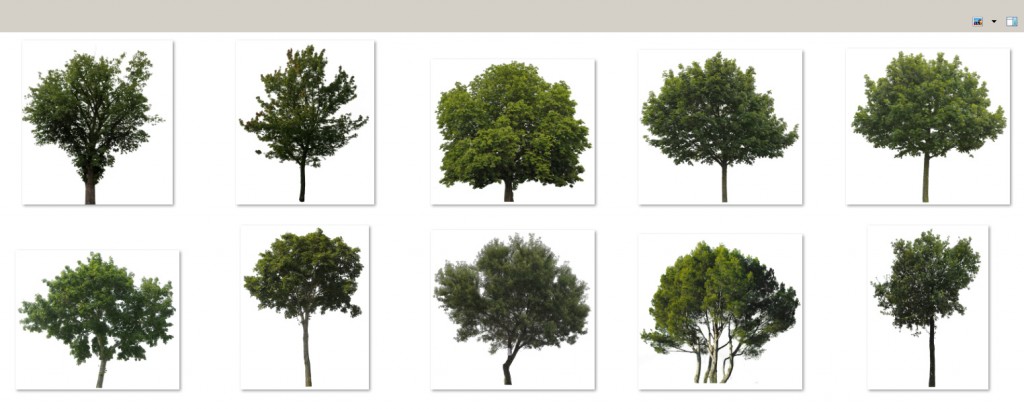 As you can tell, we’ve selected trees that have very similar lighting, in our case- more neutral and ambient, without any strong highlights and colour bursts.
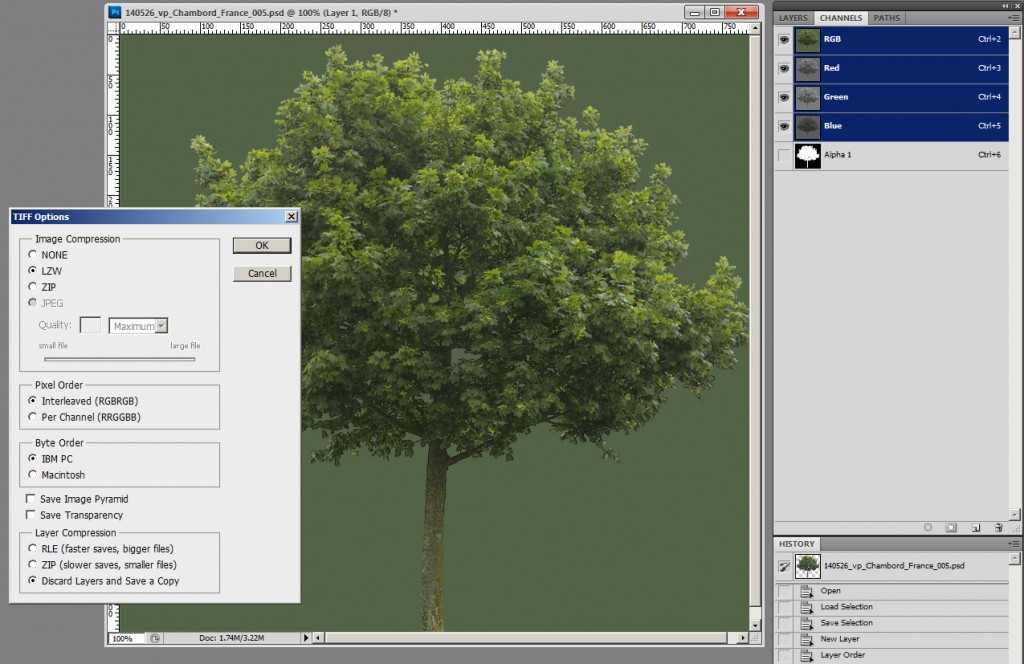
All cut-outs come usually in PSD format and they are not quite ready to use directly in 3ds max just yet. We need to do a quick format transformation on all of them in Photoshop and save them out as TIFF’s. The important thing to remember here is that we need to create an alpha channel from the main cut-out layer. This can be easily achieved by LMB+Ctrl click on the tree’s layer to get the cut-out pixels selected and then saved as a separate alpha channel mask under “channels”.
 Time to move back to 3ds max now and try to model the most beautiful dummy ever!
That’s it! Well done!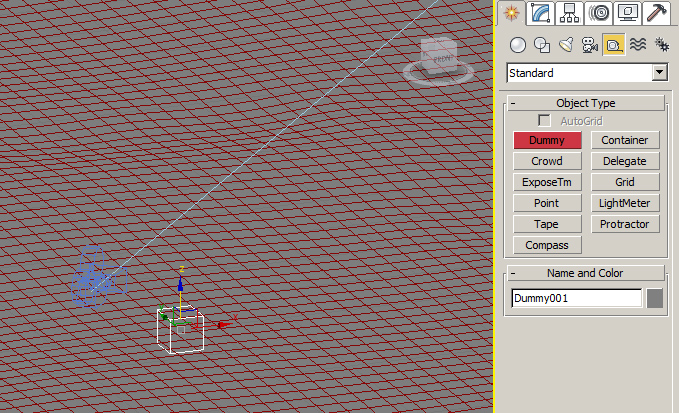 The next objective would be to scatter that dummy on the surface of the terrain many many times. For that purpose we are going to use Peter Watje’s awesome plug-in called ‘Scatter’. It’s latest version is v1.64 and can be downloaded from here.
What it does is exactly what it says on the label- it helps you scatter one object (or multiple objects) on another object’s surface. It is much more sophisticated than the 3ds max native scatter (found under compound objects). In the screenshot below all relevant settings are highlighted in red.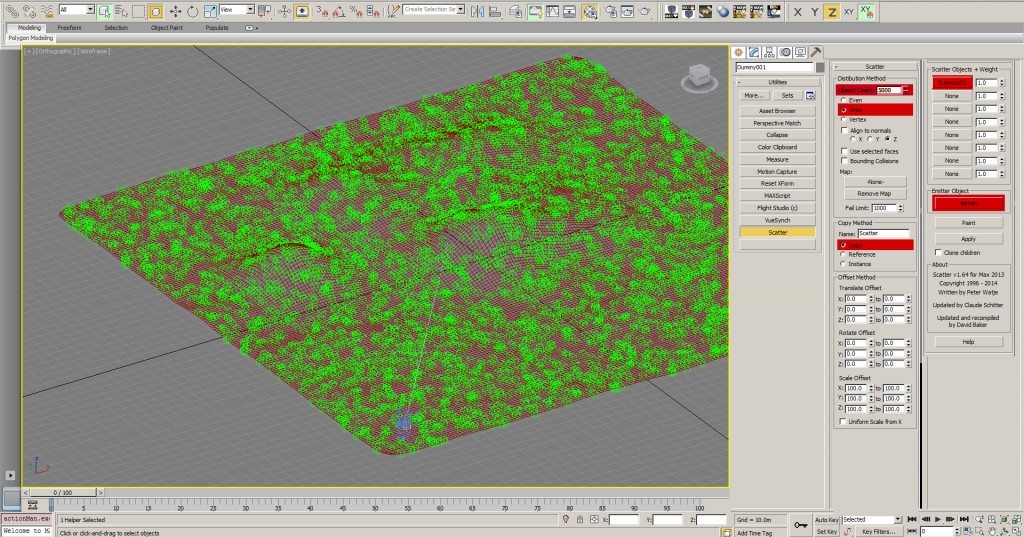 And voilà- 5000 dummies are now lying around leisurely on our terrain. Next we are going to mobilize them all into action and throw them on the battlefield! Hard times are coming your way, you dummies! Hold on tight!
With a touch of a button these ordinary dummy solders will be transformed into gorgeous summer trees. We gonna show you how it’s done.
There’s this enormously super hyper uber cool plug-in called “A2Dimage” which has been developed by AVIZ studio guys.
The link to the plug-in is right here !
There is free version of it but we highly recommend investing in the Pro version which has got some really indispensable features. For this tutorial we are using the Pro version. Once installed, the plug-in can be accessed from the geometry drop-down menu right at the very bottom of it.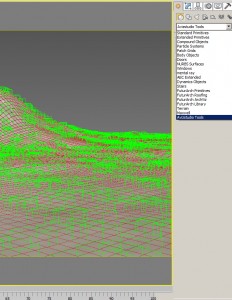 Let’s click in the perspective view-port somewhere close to the 0,0,0 and create a single image plane using the default settings.
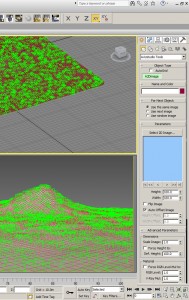 With the plane selected, we’ll go to the “Modify” tab and start defying up some parameters (highlighted in red).
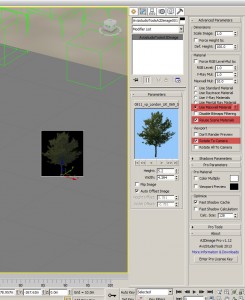 One very cool feature. In order to have a “correct”, physical height for all your trees, simply rename the TIFF files by adding the desired height of the cut-out at the end of the file name. For example, if file name is “Tree_01.tif” – the script will automatically set the height of the A2Dimage object to 1.0. If you would add “_5.2” at the end of the file name – “Tree_01_5.2.tif” – the script will set the height to 5.2 units (meters).
For the things we are going to do next, we would need an access to the “Pro tools” functionality which is a part of the paid Pro toolbox.
Under “Pro Tools” find and choose “Scatter Tool” and select all or some of your cut-outs you’d like to replace the dummies (a.k.a. position helpers) with. It is good to keep all project-related cut-outs in the same folder as the plug-in will be replacing the dummies with AVIZstudio planes and randomly assigning tree textures to them.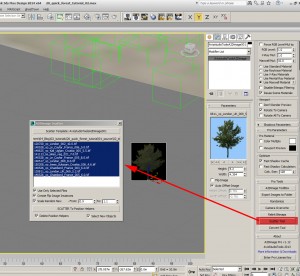 It might take a few moments to replace all of the 5000 position helpers but when it’s done your terrain should look similar to this:
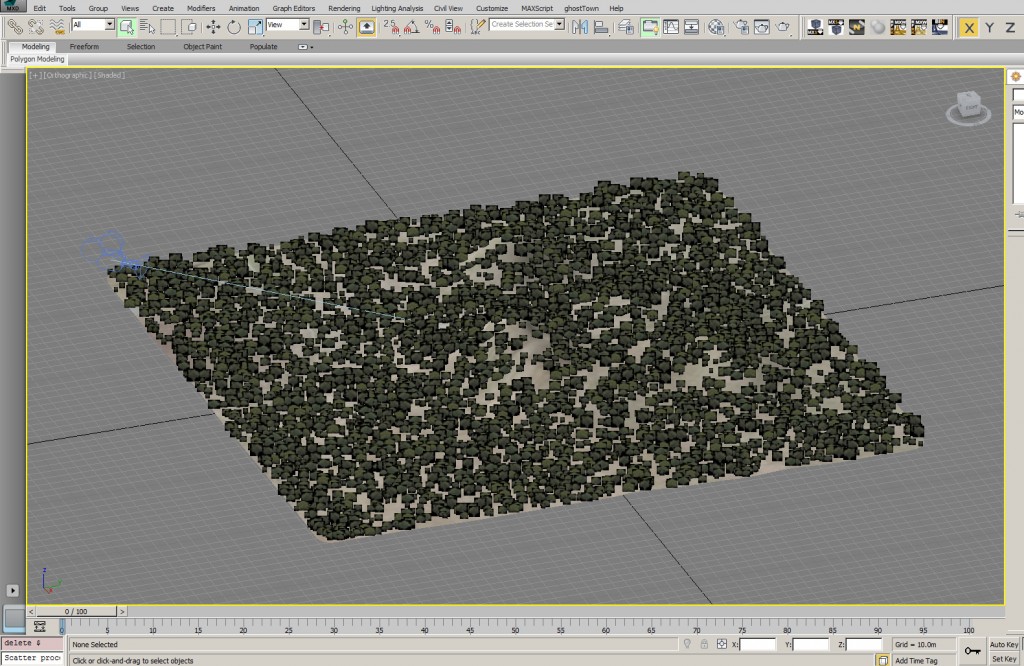 With all the 2D plane trees successfully populated, we are going to move on to the rewarding artistic bit.
And we are going to use the 3ds max Daylight system to set up some realistic lighting for our scene.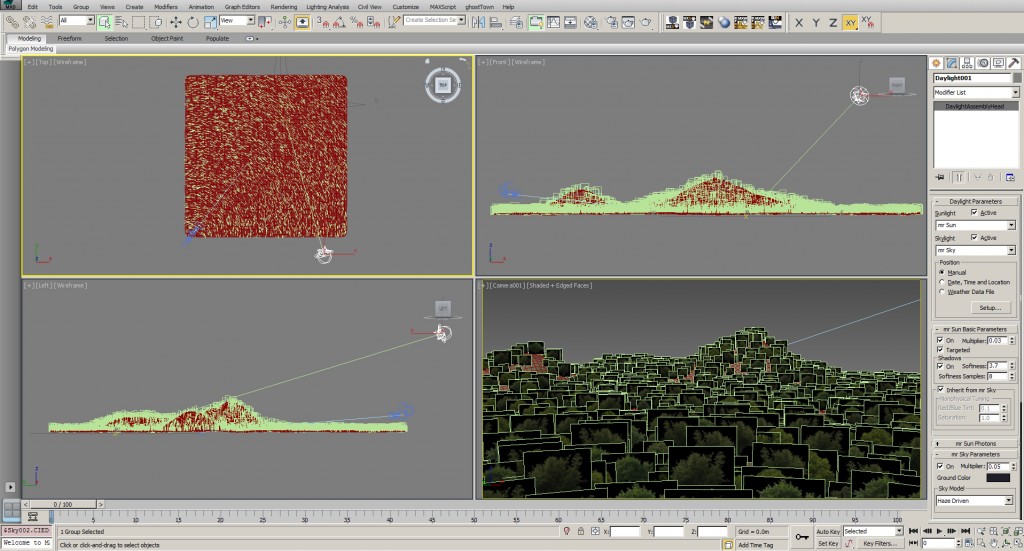 The Daylight system should be selected and linked to the MaxwellRender environment settings (under “Geographical Location”. All relevant settings are highlighted in red.
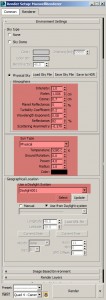 As you can see, not too many sophisticated parameters here and no need to go to graduate with Render Engine Universities.
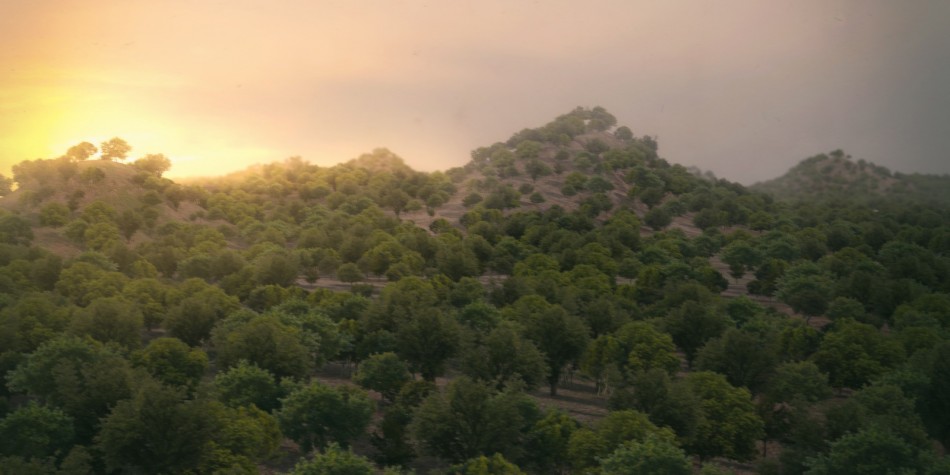
Alright, let’s hit that render button now, shall we? Below is the raw, masculine, out-of-the-box, pure render which is already looking quite nice and well-balanced in terms of lighting and coloration. We’ve got a a rock solid base which can be later easily enhanced in Photoshop.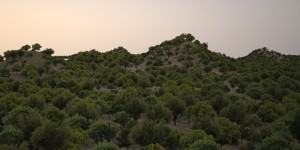 We’ve tried a few cheap tricks in post-production – replaced the sky with a photographic one, applied a slight motion blur and a DOF to the whole image, introduced light haze and sun glare, colour balance, stronger darker shadows, etc.
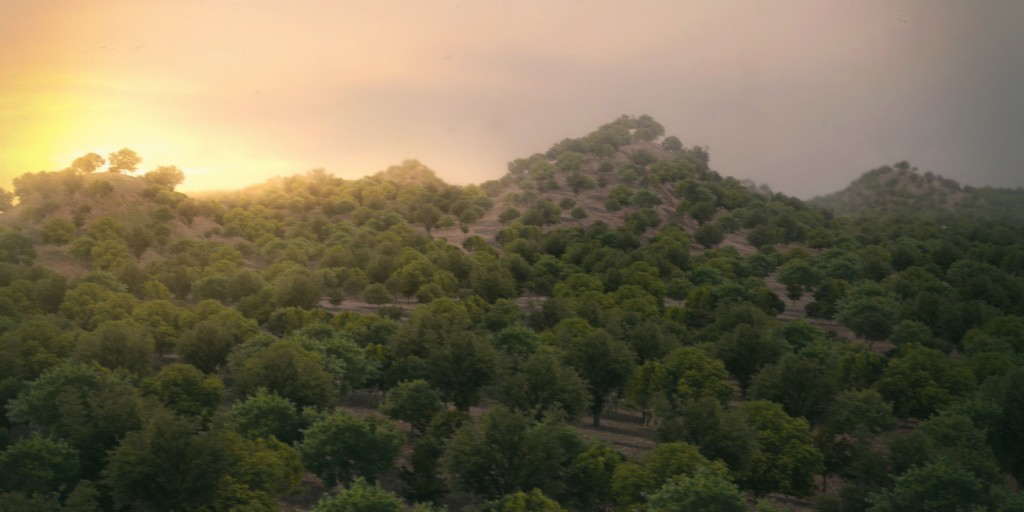 Although 2D plane trees have limitations in terms of viewing angle – they are not very suitable for extreme aerial and top-down views – in most other case they behave quite good and can be a good alternative to rendered 3D trees – both in terms of realism,easiness to use, flexibility, species diversity and rendering speed. The file size they generate can be tens, if not hundreds of times, smaller than conventional 3D tree models; e.g. the whole scene we’ve produced while working on this tutorial was around 2MB, and that’s the landscape geometry included!
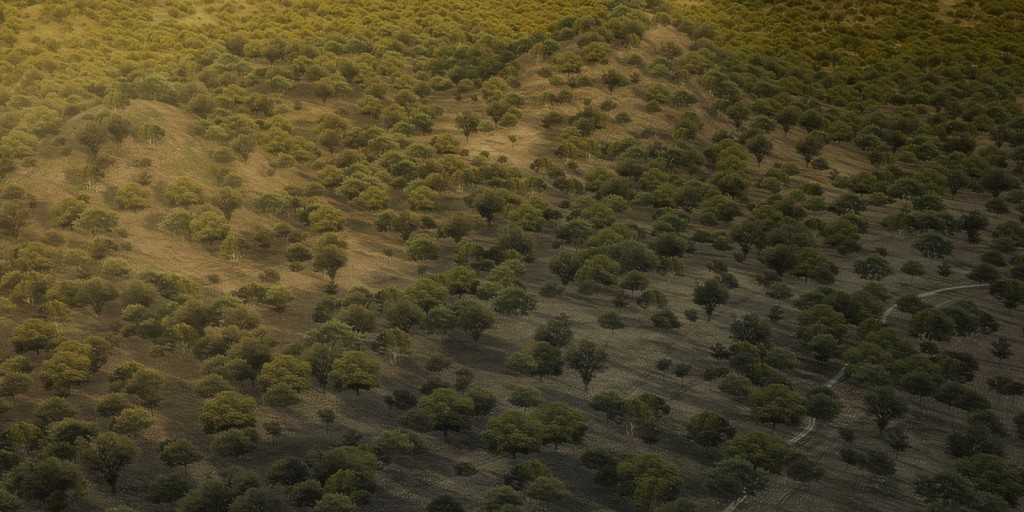 For an extra level of detail and realism, some smaller bushes, stones, grasses as well as wild boars can be sprayed around which should not increase render times significantly but, instead, will create a more believable treat for the eye.
We hope, you’ll find this tutorial useful and entertaining and if you have anything you’d like to share with us or just give us a “thumbs up”, please do so, as your feedback is extremely valuable to us!
Thank you for your attention and a happy rendering!
Yours, Gobotree.