

Bitmap Proxies
High resolution textures are one of the main reasons low spec computers run out of memory; especially when there are too many of them in a scene.
When using numerous high resolution textures in a scene , it’s often prudent to proxy bitmaps that are higher than 5k pixels, especially when the textures of the models in question are not too close to the camera.
To do so, simply open the Render Setup dialog first.
In the Common tab, scroll down to the Bitmap Performance and Memory options group, and click on the Setup toggle.
The Global Settings and Defaults for Bitmap Proxies dialog will appear.
Turn on the, Enable Proxy System.
In the, Downscale map to…original size, choose the, Eighth from the dropdown list. After few test renders, Eighth seems to yield best results (unnoticeable bitmap quality results).
In the Render Mode list, choose the option to, Render with Proxies (High Performance, low Memory)
Finally, enable the option to, Page large Images to Disk (Saves Memory), and click on, OK, Generate Proxies now .
This operation might take few seconds before completion.
While the before/after results of using Bitmap Proxies were unnoticeable (in terms of bitmap quality); the rendering performance have improved dramatically.

Global Settings and Defaults for Bitmap Proxies dialog
Mesh proxies
When using numerous high resolution 3d models in a scene, the file size can and will increase substantially.
In order to prevent this, simply proxy the mesh. To do so, start by selecting the mesh and right clicking on it.
In the quad menu, choose to, V-Ray mesh export

V-Ray mesh export quad menu
In the V-Ray mesh export dialog, one can either copy/paste the Folder location to where proxy mesh file will be saved to; or simply click on the Browse location, to locate the saved file destination.
The following step is to choose to, Export each selected object in a separate file (preserves the pivots of individual objects).
Next, enable the option to, Automatically create proxies, and click OK, to generate the proxy.

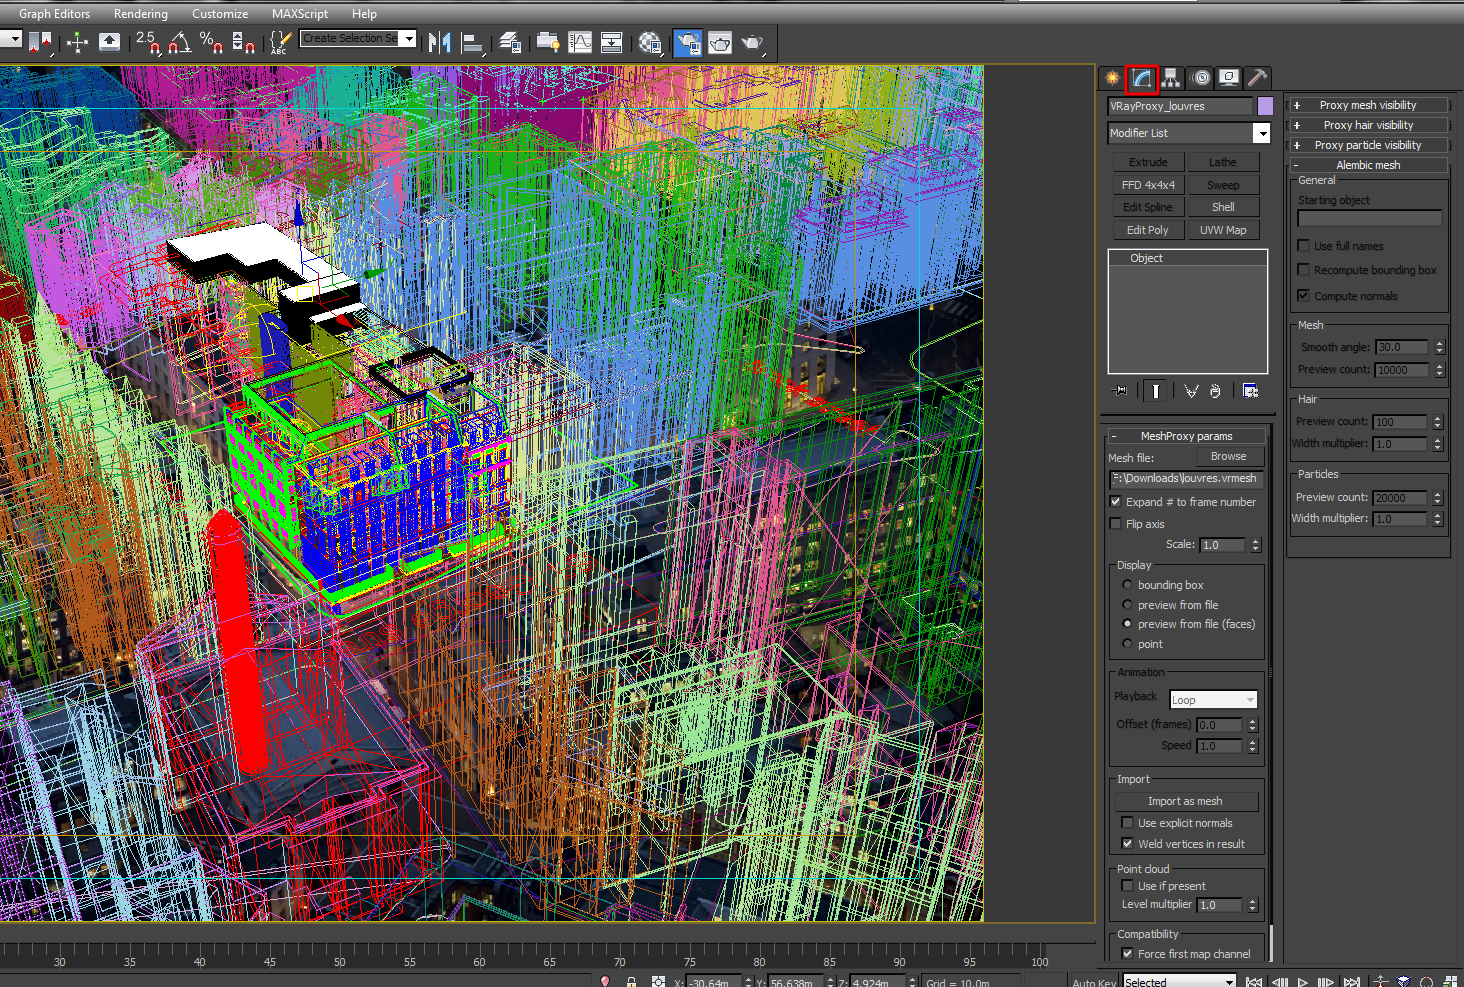
The proxy parameters allow users to see mesh file location; to Scale the proxy, choose the display method, import the original mesh back into the scene, etc.
V-Ray mesh export quad menu
I hope you’ve enjoyed this tutorial.
Exclusively for Gobotree – Jamie Cardoso


