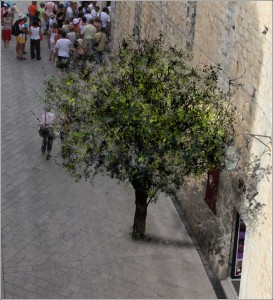
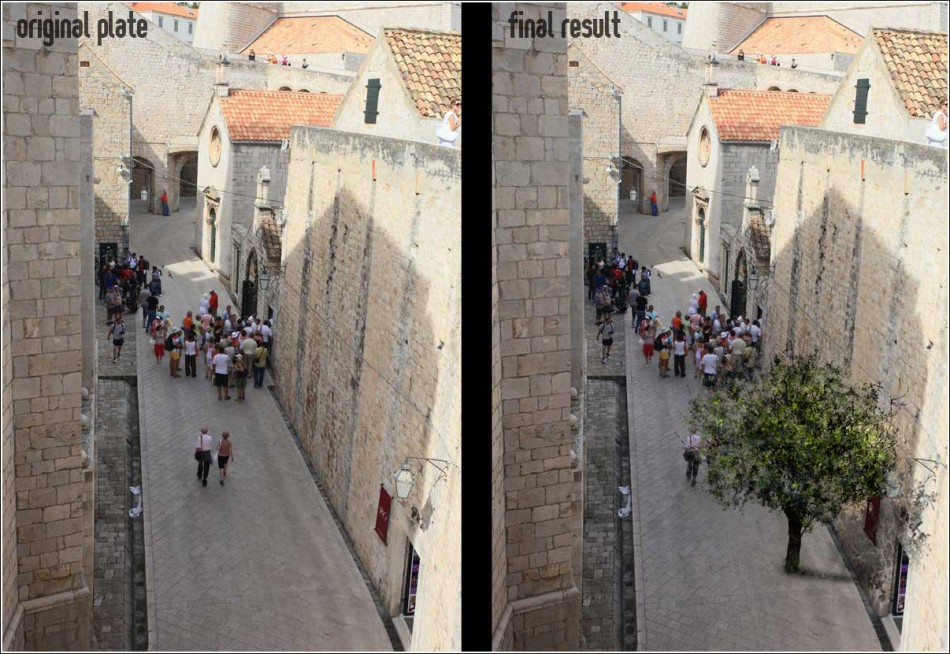
In this 9:40 minute high-definition video tutorial we will be showing you how to paint a tree in Photoshop from scratch using some custom-made brushes and a WACOM tablet.
 The question you might ask here is, why would I want to paint a tree in Photoshop when I can do it much faster using one of the cut-outs from your free library, achieving an even greater realism? Well, certainly in most of the cases (lighting conditions, viewing angles, generic tree species requirements) you can be quite successful integrating a cut-out in your image but sometimes, just sometimes – and more often than not – there are cases like this where you cannot easily find a suitable tree to match your image perspective and/or lighting. And then, after hours of searching you’ve finally found the right tree, it might prove impossible to separate it from its background. What is even more important, at least from our point of view, is to avoid “simulation of reality”, this literal and automated approach to art and visualisations which are so common these days and which make all images look pretty much identical in style and meaning. As the old saying goes – “less is more”!
Furthermore, you can download all the brushes used in this tutorial here Tree Painting Brushes and the original plate, which is an image of old town Dubrovnik and can be found here Original Plate
Currently this tutorial has no voice over… Maybe some day I will find the time to do it properly, explaining every step and every click- the Gnomon style, but until that day comes, it will have to stay mute. Sorry, dudes!


