
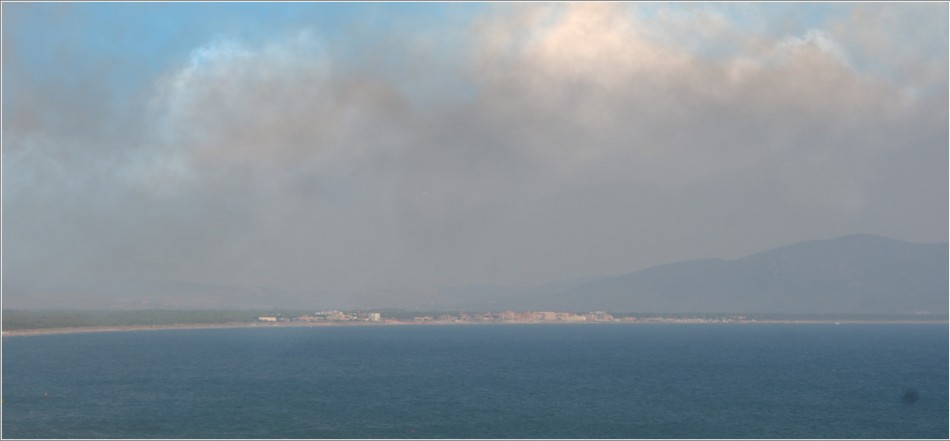
This tutorial’s been inspired by the lovely English “summer” we’ve been enjoying again this year. I’ll show you how to paint clouds in Photoshop using the powerful PS brushes to achieve results similar to the example below.
To all of you the lucky ones who are having the chance of living in the Mediterranean – you need not read further!
Now here’s the “cloudless” image I used for this exercise…Who could ever believe, here in London, that skies like this do exist, eh?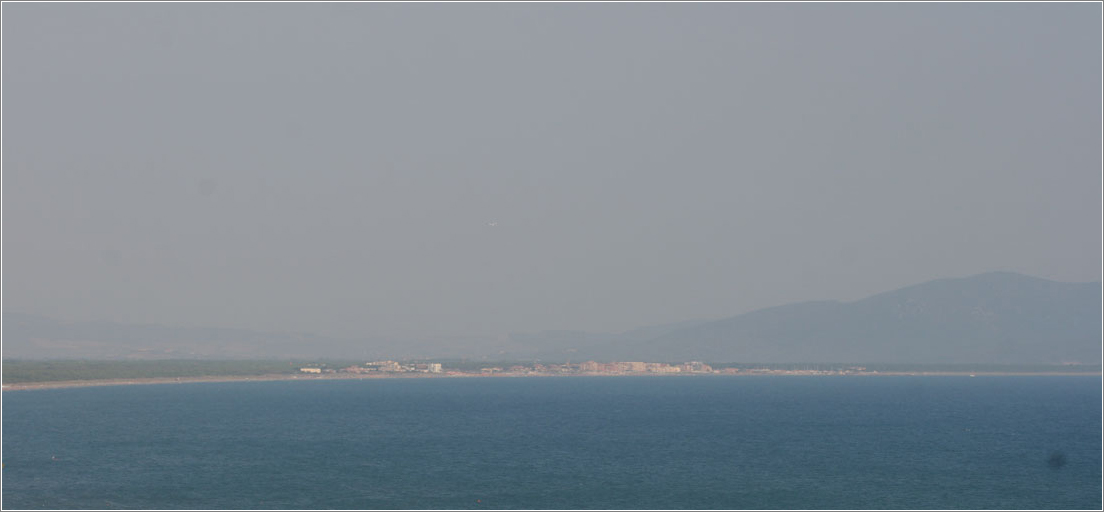
Alright…first things first- let’s start by creating a nice cloudy brush in Photoshop I am going to use to paint my clouds. And for that purpose I’ll use this photography: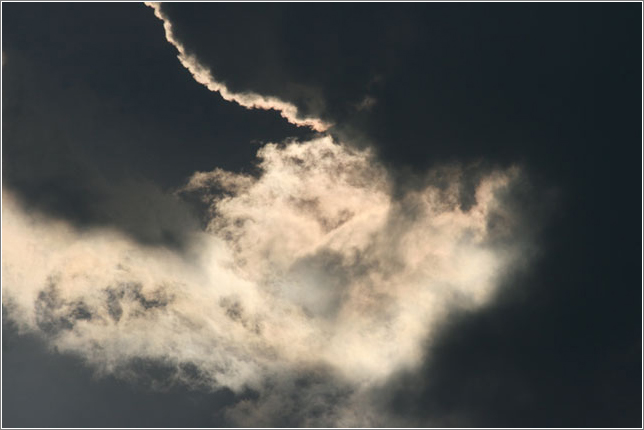 There’s nothing really sophisticated in the following step…the idea is to get a nice contrasty channel we can use as a mask to cut out the brightly-lit cloud from the surrounded darker clouds. So I copied the green channel (seemed to have a better contrast than the red or the blue one) and, using adjustment curves and levels, I got this:
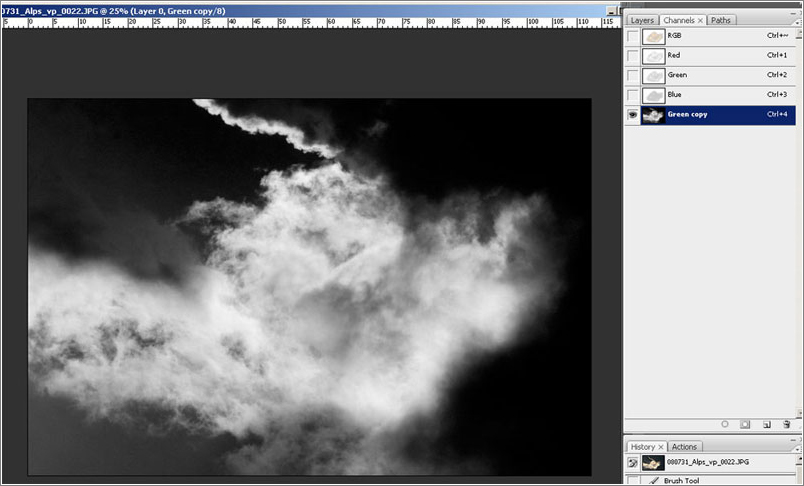 Next, I cut out the dark areas using the green channel (as a selection mask) and the erase tool with a round brush to get a smoother edge. Created the brush preset ( Edit->Define Brush Preset) out of this image:
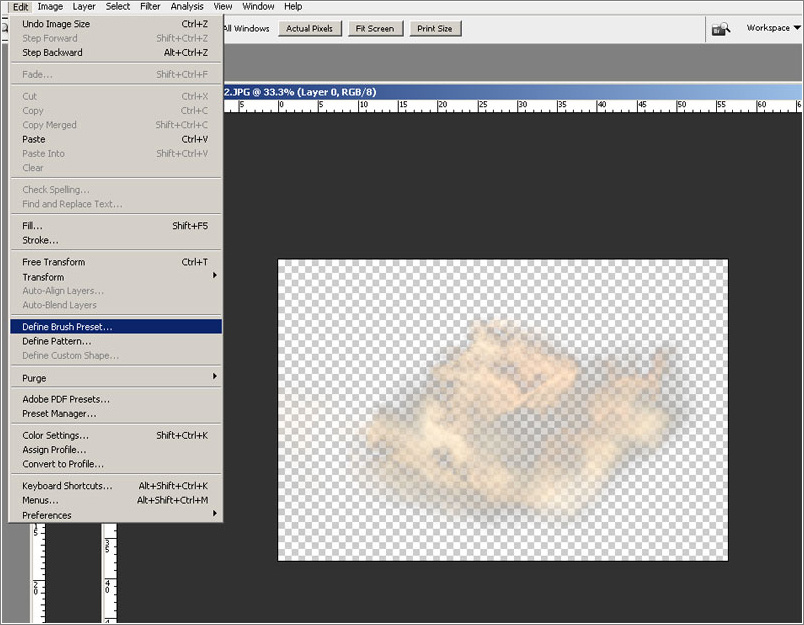 You should play a bit with the brush setting; for my specific needs all I did is ticked on “Shape Dynamics” and set the angle jitter to “Direction” to give it a bit of rotational randomness:
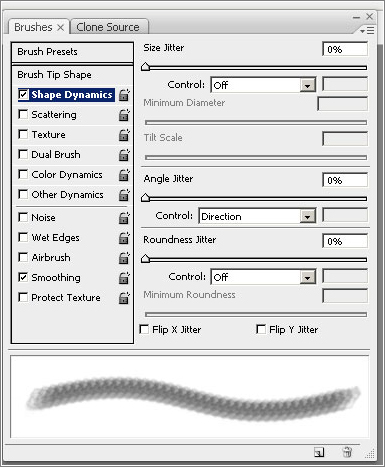
The brush I created for this tutorial is available for download right here: clouds_brush.zip
I’ve prepared a 2:21 min video capture ( 16 MB avi zipped file) of my screen showing the exact steps I went through to create the image shown at the very beginning of this tutorial, (though the final result is slightly different). So, in case you’re interested- here’s the link: video
 There’s no sound with the video but I think it is rather self-explanatory. In general, I used the brush preset I just created both as a Brush Tool to paint clouds and as a Erase Tool to delete areas of the clouds for a smoother transition/integration with the background. Notice how easy it is to change the mood of the image “on the fly” with just a few Wacom-strokes – from a darker rainy sky to a orangey-pinky kinda sunset. As a rule of thumb, I paint from dart to light, meaning I paint the darkest darks first, then on a separate layer(s) the middle values and adding the brightest spots and highlights at the very end.
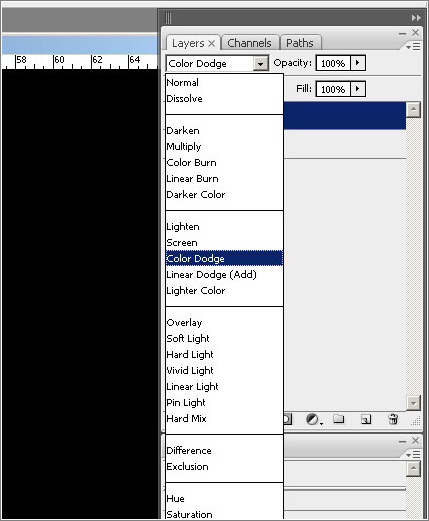
For the highlights, I simply make a new layer, fill it with 100% black and set it to colour dodge. This way the black fill turns invisible/transparent, so when using bright orange colours you get this nice colour dodge effect for the highlights.
Use pitch black colour to mask back highlights or areas that are too strong.
Well, I guess that’s it for today. Enjoy and stay tuned for more tips and tricks to come soon!


