
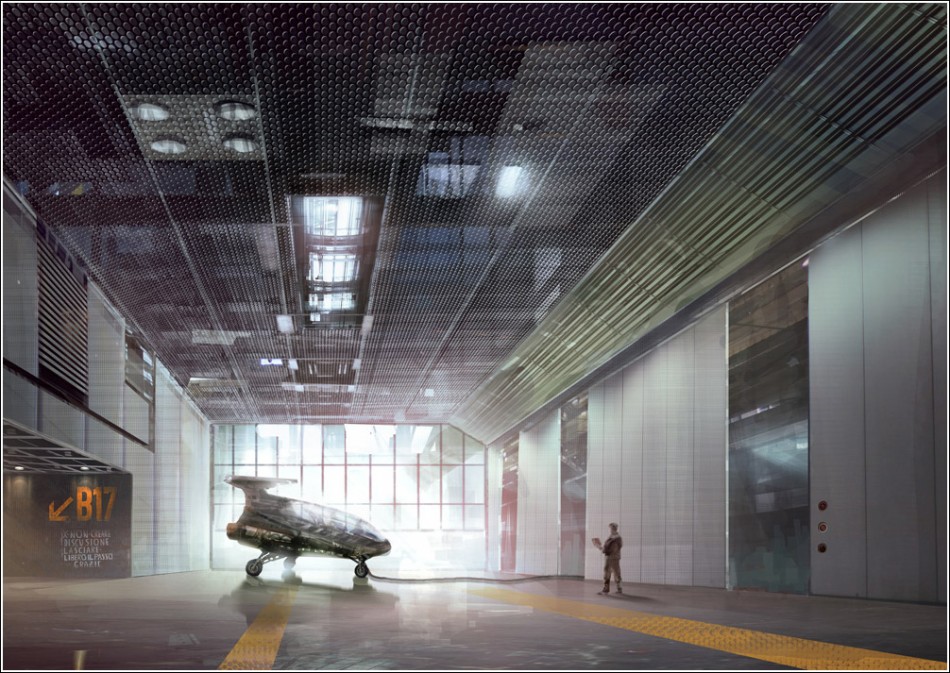
In this 1h:18min video tutorial we will be showing you how to render a one-point perspective interior scene entirely in Photoshop, this time completely from scratch, i.e. there will be absolutely no 3D involved.
Instead, we will be adding details on the go, using Photoshop brushes and cutting, skewing, masking, stretching, erasing and modifying pieces of photographic materials from of our extensive reference library that we’ve taken ourselves at different locations around the globe.
These types of conceptual images, sometimes referred to as “digital painting” or “speed painting” and, which we here at Vyonyx are marketing as “Quicksilver images” is a very flexible and quick way of not just visualising your ideas, but also a very intuitive way of designing things in general and architecture in particular. This way of working allows easy changes – changes are important to your client and to your team. And that’s where the good old sketching and painting techniques, combined with the latest digital technology, come in handy. An image like this can be produced within a couple of hours.
The architecture of today should not be regarded as a finished and unchangeable product that does not move from its conception scribbles drawn on a restaurant napkin right to the finale, but rather be seen as a “design process”, a “work in progress”- constantly changing and evolving even after the actual physical completion of the building.
Below are some screen shots from our video and a low-res streaming video of the tutorial:
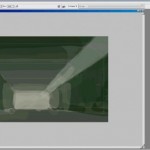
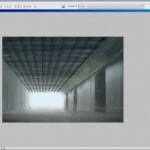
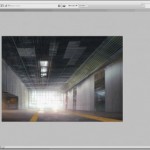
Currently there is no sound available to accompany the videos – please accept our apologies for this.
Well, thanks for watching and all your comments are very welcome!


